This presentation shows the challenging way of giving a new breath to historic internal combustion engine, manufactured by Ford UK in 1979. The work has been done at a home garage-workshop, using external proffessional services for operations like machining and balancing. With a special focus to mechanical efficiency and precision assembly the engine performance was increased compared to original factory standard.
Ford V6 Essex engine rebuild project 2016-2017
- Removing the engine from the car and complete dismantling,
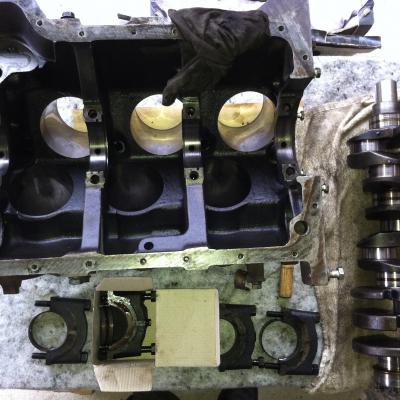
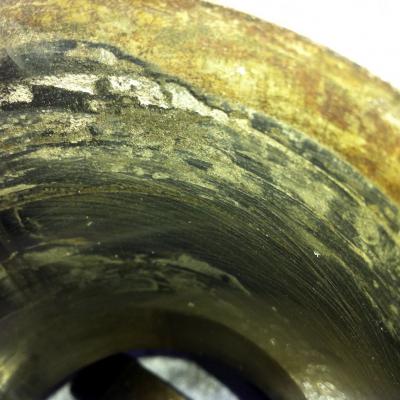
- Basic diagnostics: surface an pitting corrosion in 6th cylinder bore (re-boring necessary), some of the top piston rings broken, heavy carbon deposits, water pump seized, all bearings and lubrication system OK, no cracks in block and heads,
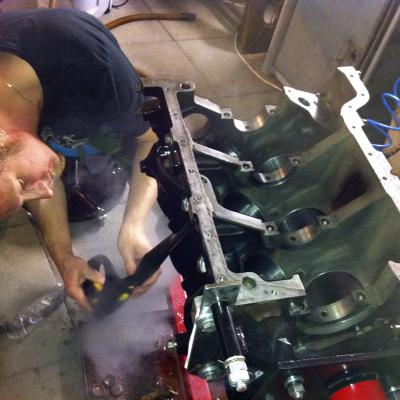
- Block and heads deep-cleaning (all core plugs and oil screwed plugs removed, water and oil galleries steam-cleaned etc.)
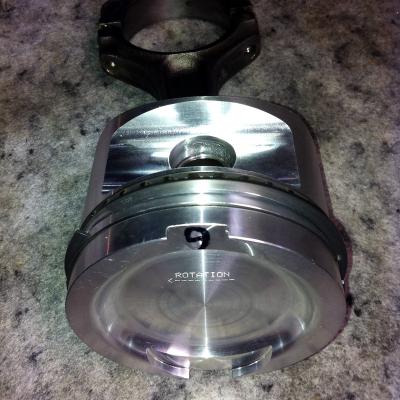
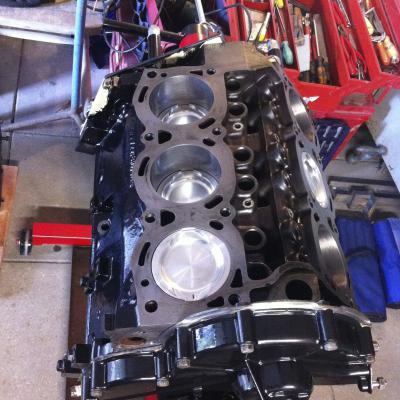
- Deciding for new cylinder bore diameter (to remove pitting corrosion) and purchasing new forged high-compression pistons (11.5:1),
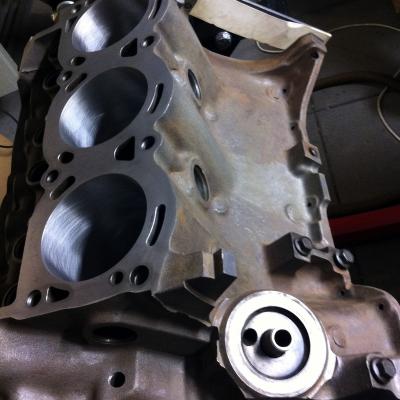
- Cylinders boring and honing, deck flattening (0.05 mm),
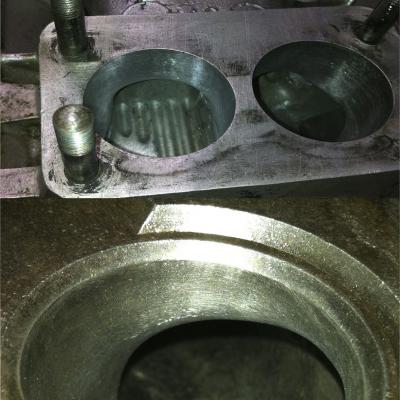
- Heads checking and refurbishment (flattening 0.2 mm, valve seats clearance check, valves in- lapping),
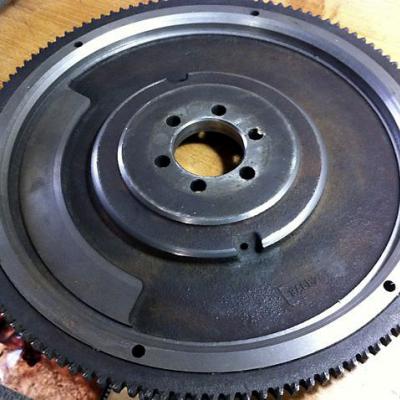
- Flywheel lightening (from 9.6 kg to 8.3 kg)
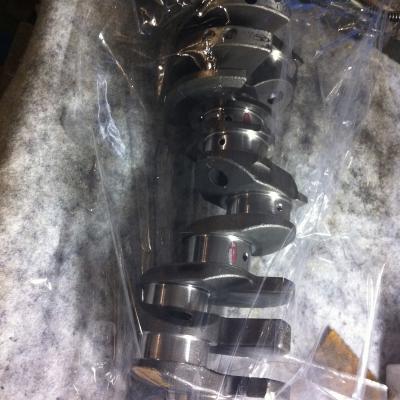
- Checking the crankshaft condition and bearings (all journal sizes at factory tolerances, no ovality), oil holes fine smoothing, journals lapping,
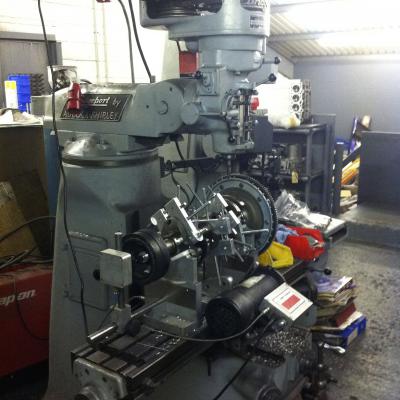
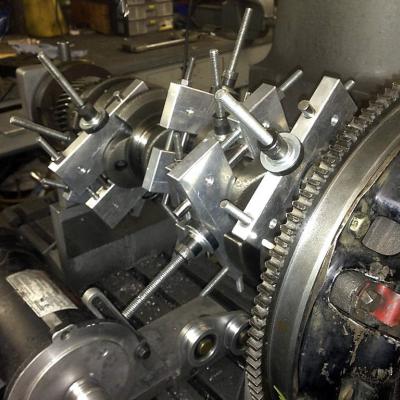
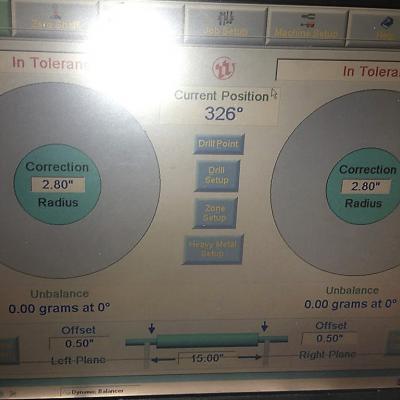
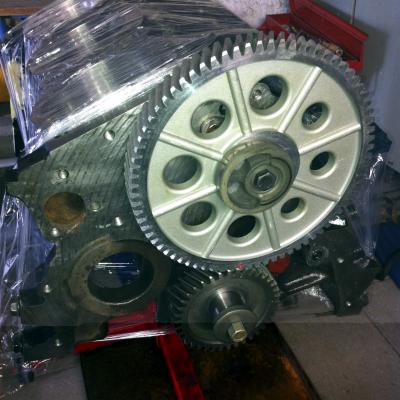
- Complete internal engine balancing at Ric Wood Motorsport UK. This company provided great help and services incl. connecting the pistons with conrods (press-in fit) and supplying the right camshaft, tappets, valve springs, aluminium timing gear, all bearings and seals, and loads of great advice and inspiration,
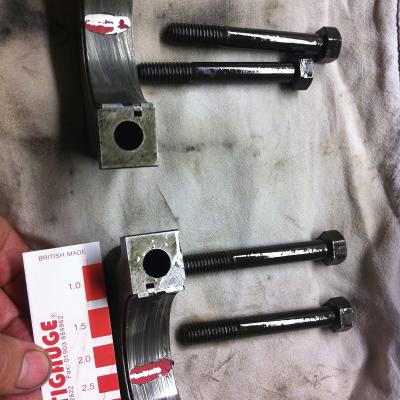
- Short block assembly (incl. checking for main and big-end bearing clearances),
- Heads and inlet manifold porting, assembling and inlet ports matching,
- Valve train assembly (new sporting camshaft with followers and springs, other components remained original after careful checking), adjusting the valve clearances,
- Carburettor refurbishing and basic setting (main jets 160 for start),
- Installing the engine into a wooden workbench for breaking-in, peripherals assembly, pre-oiling (by drillmachine with distributor removed), first start for 20 minutes at approx. 2,000 rpm, continuous oil pressure monitoring, engine stop, cool-down, final heads tightening, valve clearances fine adjusting,
- Second start in workbench, adjusting the ignition timing, running for 3 hours, then checking and changing oil and filter, running for another 3 hours … engine ready for installation in a car,
- After first road tests the distributor advance mechanism was altered to suit to modified engine (higher idle spark advance around 18 deg., keeping full advance around 38 deg. with rather quick rpm progression, running on 100 octane fuel), carburettor jetting and setting performed according to O2 sensors and driving impressions…
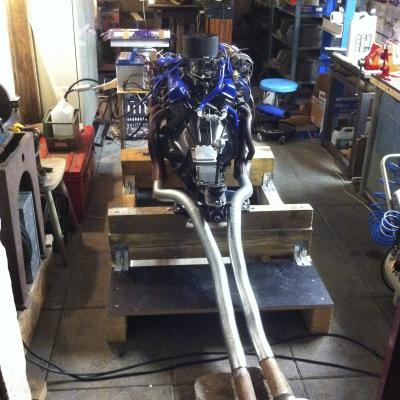
Video - running on workshop bench
Special thanks to Ric Wood Motorsport for proffessional engine balancing, best quality parts and advice.